**CS 111 w20 --- Lab 0: Welcome to Python**
*Due: Monday, January 13, at 9pm*
(##) Purpose
This lab is designed to help all of us get started in the course. First, you will help me get to know you by filling out a [survey](#survey). Second, you will get oriented to the CS lab environment and/or set up Python on your own computer. Finally, you will practice the Python we've seen in class by implementing some mathematical formulas.
(##) Logistics
Track how much time you spend on this homework outside class. You’re required
to include this in [what you turn in](#whattoturnin).
**Post questions to the [Moodle Forum](https://moodle.carleton.edu/mod/forum/view.php?id=507509)!**
# Survey
Complete the introductory [survey](https://moodle.carleton.edu/mod/questionnaire/view.php?id=507490). This is a really important part of helping me make the course as useful for you as possible.
# Programming Environment
Take some time to get oriented to the setup in the computer labs (CMC 102, 304, and 306). Go to one of them to complete the following two activities. There is nothing to turn in for this section, but please post any questions or problems you encounter to the Moodle forum or bring them to class. Even if you plan to work on your own computer, it's a good idea to make sure your computer lab login works.
(##) Log In
Some of the machines in these rooms boot into both Windows and MacOS; you’ll need MacOS. (If you don’t see a Mac login screen, you’ll need to reboot into the Mac side.) Log in using your Carleton user name and password. If you can’t log in, contact Mike Tie, the all-star CS technical guru, in CMC 305. If you see an icon called `map-network-drives` on the desktop, go see Mike Tie. If you see a folder named Courses in your home directory, go see Mike Tie.
(##) Hello, World
You can use any text editor to write Python code, but I recommend Visual Studio Code (VS Code for short). If you are working in the computer lab, you can skip to [installing the Python extension](#installthevscodepythonextension). If you're on your own computer, you'll need to install Python and VS Code first.
### Install a Python interpreter
If you are working on your own computer you will need to install a Python interpreter.
(####) Windows
Install [Python from python.org](https://www.python.org/downloads/). You can typically use the **Download Python** button that appears first on the page to download the latest version.
For additional information about Python on Windows, see [Using Python on Windows at Python.org](https://docs.python.org/3.7/using/windows.html)
(####) macOS
The system install of Python on macOS is not supported. Instead, an installation through [Homebrew](https://brew.sh/) is recommended. To install Python using Homebrew on macOS use `brew install python3` at the Terminal prompt.
(####) Linux
The built-in Python 3 installation on Linux works well, but to install other Python packages you must install `pip` with [`get-pip.py`](https://pip.pypa.io/en/stable/installing/#installing-with-get-pip-py).
### Install Visual Studio Code
You should also install [VS Code](https://code.visualstudio.com/) if you're working on your own computer.
### Start VS Code in a project (workspace) folder
**START HERE IF YOU'RE WORKING IN THE LAB**
Create an empty folder called `hello` wherever you're going to be working on CS 111 projects.
Then, run VS Code and use **File > Open Folder** to open the `hello` folder. Opening a folder makes that folder your *workspace*.
### Install the VS Code Python Extension
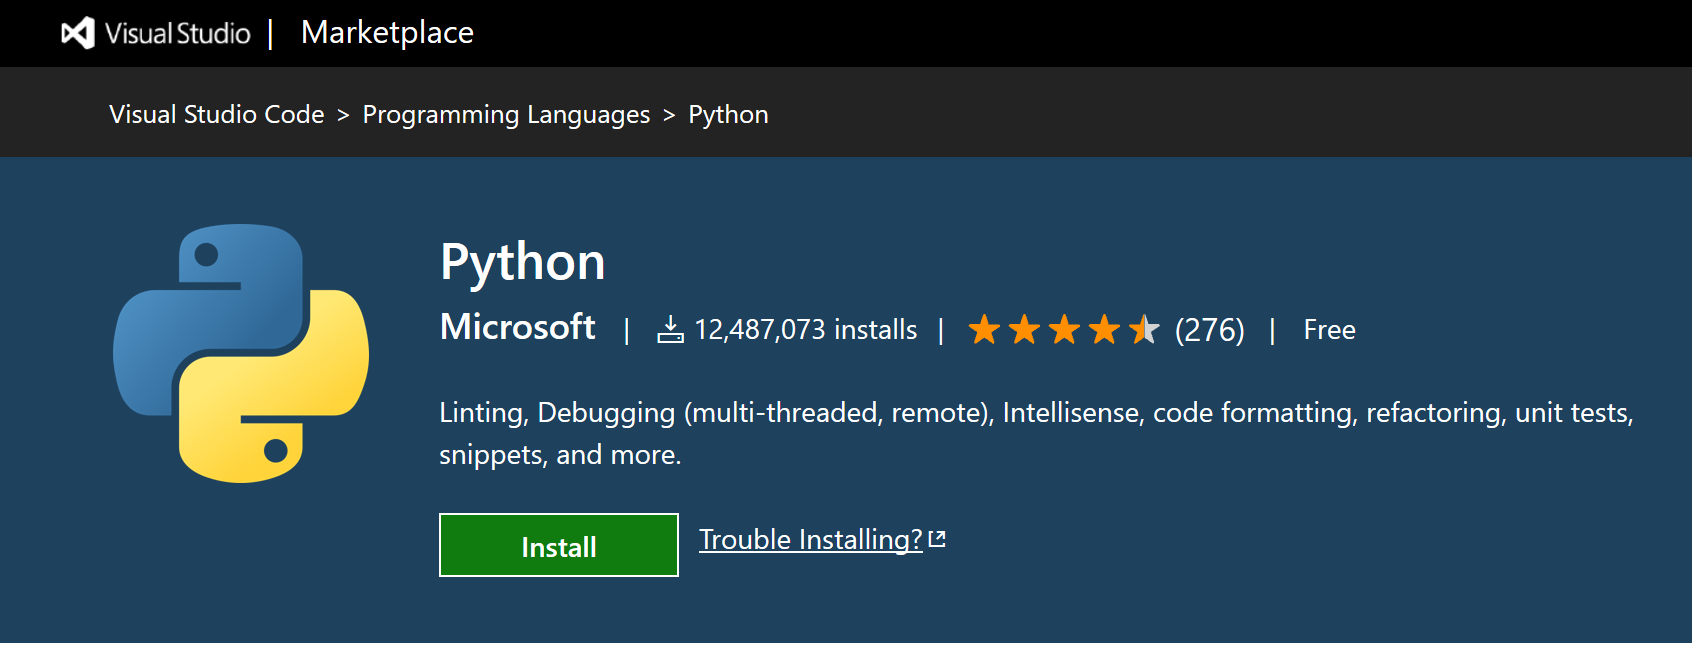
Install the [Python extension for VS Code](https://marketplace.visualstudio.com/items?itemName=ms-python.python) from the Visual Studio Marketplace. The Python extension is named **Python** and published by Microsoft.
## Create a Python Hello World source code file
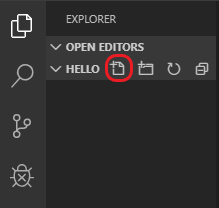
From the File Explorer toolbar, select the **New File** button on the `hello` folder:
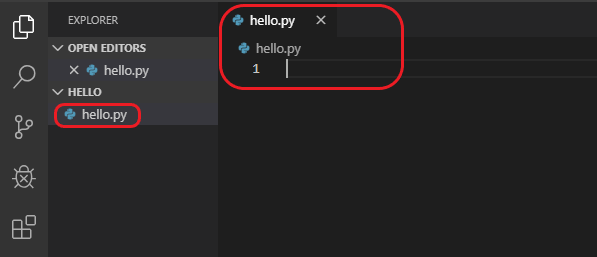
Name the file `hello.py`, and it automatically opens in the editor:
> **Note**: The File Explorer toolbar also allows you to create folders within
> your workspace to better organize your code. You can use the **New folder**
> button to quickly create a folder.
By using the `.py` file extension, you tell VS Code to interpret this file as a Python program, so that it evaluates the contents with the Python extension and the selected interpreter.
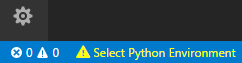
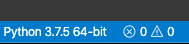
In the lower left corner of the VS Code window, you should see something like "Python 3.7.4". If so, then you're good to go and can move to the next step. If you see something like "Python 2..." or "Select Python Environment", you'll need to adjust this before moving on.
If you don't see anything like this in the lower left, you may have missed [installing the Python extension](#installthevscodepythonextension)
To fix this, click on the text in the lower left. A list of different Python interpreters VS Code has detected should pop up. Select one that begins with Python 3. The lower left should then look something like this:
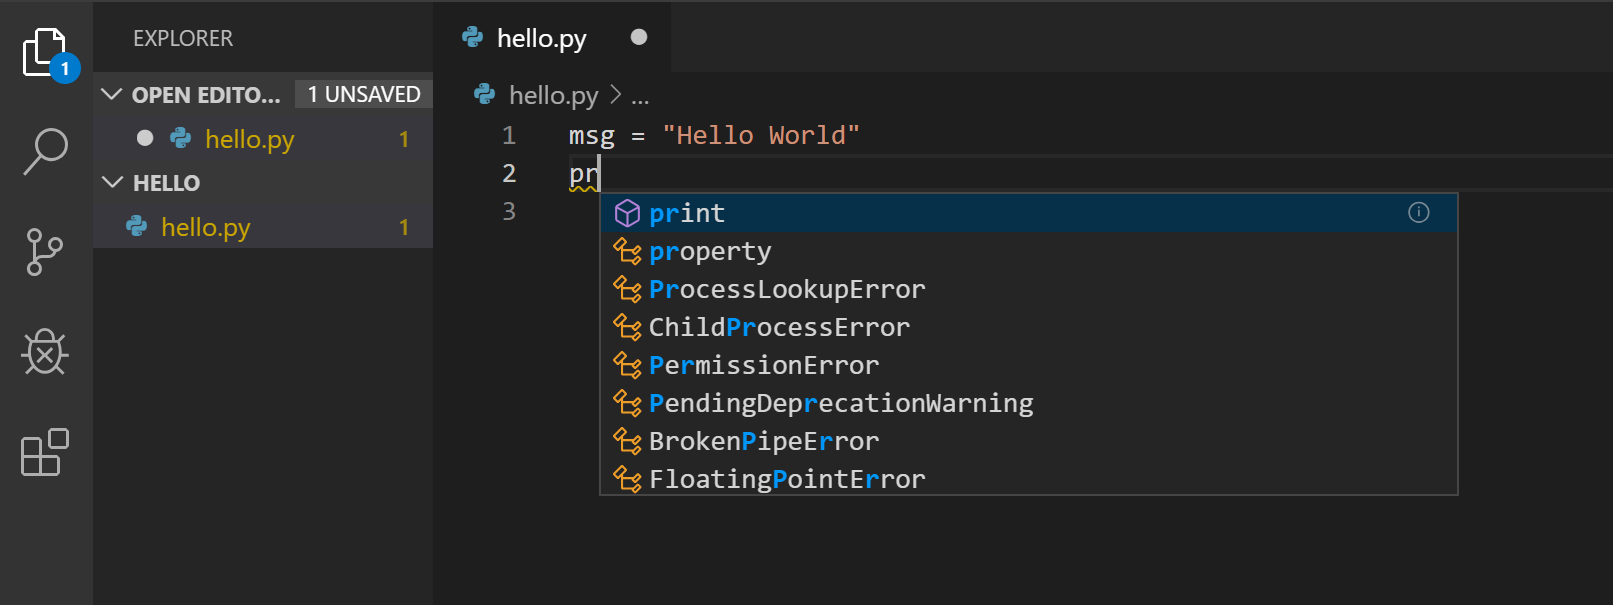
Now that you have a code file in your Workspace, enter the following source code in `hello.py`:
```python
msg = "Hello World"
print(msg)
```
When you start typing `print`, notice how [IntelliSense](/docs/editor/intellisense.md) presents auto-completion options.
IntelliSense and auto-completions work for standard Python modules as well as other packages you've installed into the environment of the selected Python interpreter. It also provides completions for methods available on object types. For example, because the `msg` variable contains a string, IntelliSense provides string methods when you type `msg.`:
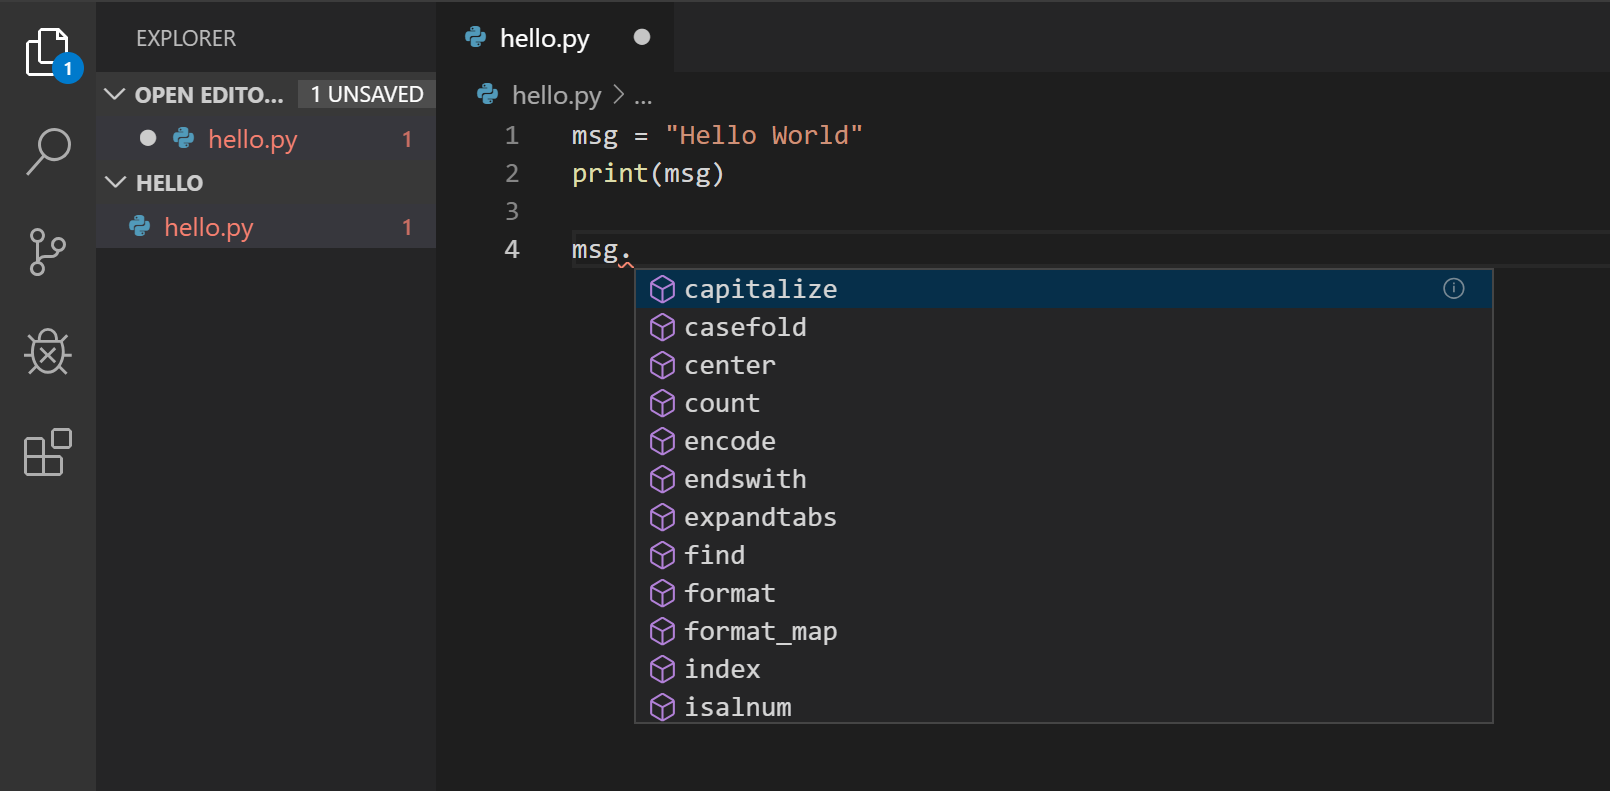
You don't need to know what any of this means right now, but this will come in handy as we move through the course.
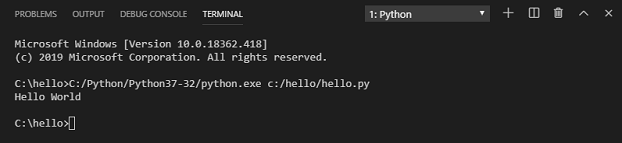
### Run Hello World
It's simple to run `hello.py` with Python. Just click the **Run Python File in Terminal** play button in the top-right side of the editor.
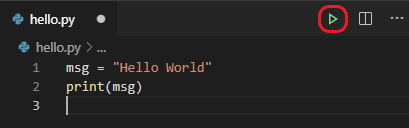
The button opens a terminal panel in which your Python interpreter is automatically activated, then runs `python3 hello.py` (macOS/Linux) or `python hello.py` (Windows):
# Getting Started with _Python_
Python can be an incredible tool for mathematical or scientific work. This lab asks you to translate several mathematical formulas into code and will help you practice using variables, arithmetic operations, `print`, and Python's `math` module. You should create a file called `lab0.py` and write your solutions to the problems below. `print` statements in your solutions should include text that clearly indicates the meaning and units of any numbers being printed.
(##) Molecular Weight
Write a program that computes and prints out the molecular weight of a carbohydrate based on the number of hydrogen, carbon, and oxygen atoms. The molecular weight is just the sum of the weights of all the atoms in the molecule. You should use the following weights:
Atom | Weight (grams / mole)
---- | ---------------------
H | 1.0079
C | 12.011
O | 15.9994
Assign variables for the number of each type of atom and use them in your calculation as follows: 22 hydrogen atoms, 12 carbon atoms, and 11 oxygen atoms. The result should be rounded to three decimal places (use the built-in `round` function--it takes two arguments, the number to round and the number of decimal places the return value should have).
(##) Distance Between Two Points
Write a program that computes and prints out the distance between the two 2D points (10, 5) and (8, 4). Assign four variables for the $x$ and $y$ values of each point and use them in your calculation. The distance formula is:
\begin{equation*}
distance = \sqrt{(x_2 - x_1)^2 + (y_2 - y_1)^2}
\end{equation*}
Python's `math` module has a `sqrt` function you can use to perform a square root.
(##) Area of a Triangle
Write a program that computes and prints the area of a triangle given the length of its three sides $a = 17$, $b = 15$, and $c = 13$ using the formulas below. Assign variables for each side and use them in your calculation. Python's `math` module has a `sqrt` function you can use to perform a square root.
\begin{equation*}
s = \frac{a + b + c}{2}
\end{equation*}
\begin{equation*}
area = \sqrt{s(s - a)(s - b)(s - c)}
\end{equation*}
(##) Snow-Clearing Ladder
Snow is already falling and soon snow drifts will inundate campus (if it ever stays cold enough for the snow to build up). To clear snow out of hard-to-reach places, facilities will need ladders. Write a program to compute and print the length (in meters) of a ladder required to reach a height of 8.5 meters when leaned against a building at an angle of 75 degrees. Assign variables for the required height and angle. To compute length of the ladder use
\begin{equation*}
length = \frac{height}{\mathrm{sin}\: angle}
\end{equation*}
Note: Python's `math` module contains a `sin` function. This function requires the angle to be in radians. Use this formula to convert from degrees to radians:
\begin{equation*}
radians = \frac{\pi}{180}degrees
\end{equation*}
# Testing Advice
It's always a good idea to test any code you write. Generally, testing code involves running it and verifying that it produces some expected output. Every lab will have a section like this with advice on how you might approach checking your work.
In this lab, you're writing code to crunch some numbers. All of the formulas are simple enough that you can do the calculation by hand or with a calculator. Thus, a great way to make sure your program is doing the right thing is to do each problem manually and compare your result to what your program prints out. If they're the same, chances are your program is correct. If you got something different than your program, it's time to carefully check your code and your manual computation--one of them has an error!
# What to Turn In
- **Introductory survey** [via Moodle](https://moodle.carleton.edu/mod/questionnaire/view.php?id=507490)
Submit the following files via the [Lab 0 Moodle page](https://moodle.carleton.edu/mod/assign/view.php?id=507491)
- A file called `lab0.py` with your solutions to all four problems. At the top of this file (and every file you submit) should be comments with your name, the date, and the purpose of the file (i.e., *CS 111 Lab 0*). When this script is run, the answers to all four problems should be printed out and clearly labeled.
- A file called `feedback.txt` with the following information (you get points for answering these questions!):
- How many hours you spent outside of class on this homework.
- The difficulty of this homework for this point in a 100-level course as: too easy, easy, moderate, challenging, or too hard.
- What did you learn on this homework (very briefly)? Rate the educational value relative to the time invested from 1 (low) to 5 (high).
# Grading
This assignment is graded out of 30 points as follows:
- Completing the introductory survey -- 6 points
- Submitting `feedback.txt` -- 3 points
- Problems -- 5 points each
+ Assigned variables with appropriate names for the initial values as stated in the problem -- 1 point
+ Correct computation -- 2 points
+ Well-formed output with explanatory text, appropriate units, and good spacing -- 1 point
+ Good coding style including putting spaces around `=` and math operators (`+`, `*`, etc.) and not putting too much math on a single line -- 1 point
- Comments with name, date, and purpose at the top of `lab0.py` -- 1 point